Spread the love
Controlling LED Raspberry Pi
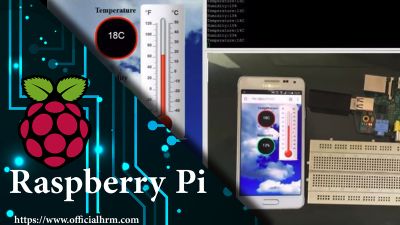
Controlling an LED with the Raspberry Pi. Customized Html page
- install webiopi (Rasbian) how to install webiopi service.
- Upload the script folder to this path “/home/pi/”
- sudo gedit (or nano) /etc/webiopi/config Find and Replace the Lines :
[SCRIPTS]
# Load custom scripts syntax :
# name = sourcefile
# each sourcefile may have setup, loop and destroy functions and macros
#myscript = /home/pi/webiopi/examples/scripts/macros/script.py
myscript = /home/pi/script/script.py

#------------------------------------------------------------------------#

[HTTP]
# HTTP Server configuration
enabled = true
#port = 8000
port = 8080

# File containing sha256(base64("user:password"))
# Use webiopi-passwd command to generate it
passwd-file = /etc/webiopi/passwd

# Change login prompt message
prompt = "WebIOPi"

# Use doc-root to change default HTML and resource files location
#doc-root = /home/pi/webiopi/examples/scripts/macros

doc-root = /home/pi/script/
- For instance, to start with verbose output and the default config file :
sudo webiopi -d -c /etc/webiopi/
- You can also start/stop the background service, the configuration will be loaded from /etc/webiopi/config.
sudo /etc/init.d/webiopi startsudo /etc/init.d/webiopi stop- To set up your system to start webiopi at boot
sudo update-rc.d webiopi defaults
open your browser to http://your Raspberrypi IP addres:8080/ with any device of your network.
For more Please make sure to subscribe to Officialhrm YouTube channel and like Facebook Page.
Thank you for visiting Officialhrm! Please don’t forget to share this website with your friends.
Download
| File | Description | Date added | File size | Downloads |
|---|---|---|---|---|
 Controlling an LED with the Raspberry Pi
|
August 15, 2018 5:21 pm | 278 KB | 2728 |